This is a multi-part series on Kotlin, a new statically typed language from JetBrains targeting the JVM and JavaScript
For the past year or so, a team of developers at JetBrains, lead by Andrey Breslav have been working on a new language codenamed Kotlin, a statically-typed language targeting the JVM and JavaScript. Kotlin is a multi-purpose language and can be used for pretty much any type of development.
As someone interested in languages, I’ve taken it upon myself to learn more about Kotlin and offering you to join me in the journey. If like me, most of your time in the past few years has been spent as a C# developer, not a Java one, then we’re pretty much in the same space. So you’ll feel right at home.
A little about Kotlin

Kotlin has been developed in an attempt to improve the way we work. It has removed some of the bad things Java has and added some nice features that Scala provides. It is an Object Orientated language, not a functional one, although it does have higher-order functions and function literals. If you are interested in the reasons as to why Kotlin has been developed, check out some of the entries in the FAQ. There is also this post that is worth checking out about why JetBrains needs Kotlin.
Another important fact about Kotlin is that it is OSS, both the compiler and the IntelliJ IDEA plugin. Taking into account that we also provide an IntelliJ Community Open Source edition, the tooling costs for using Kotlin is zero.
Setting up IntelliJ to work with Kotlin
Several days ago we announced the general availability of the EAP for Kotlin.The entire source code for Kotlin is available on our GitHub account. There is also a build of the compiler available as a zip. That’s pretty much all you need to work with Kotlin. However, to make the experience much nicer, we’re going to work inside of IntelliJ and use the Kotlin plugin already available for it.
So the first step is to download IntelliJ. I’m working with the Ultimate Edition, but you can use the Community Edition if you like. Note however that the plugin DOES NOT WORK with IntelliJ 11 or prior versions. It is only supported in IntelliJ 11.1 EAP which you can download from here. I’m using build 114.98. The codename for this EAP is Nika and the executable is named Nika too so make sure you run the correct instance of IntelliJ if you have 11.0 or a prior version installed. Even though the plugin might load in previous editions, it won’t work correctly.
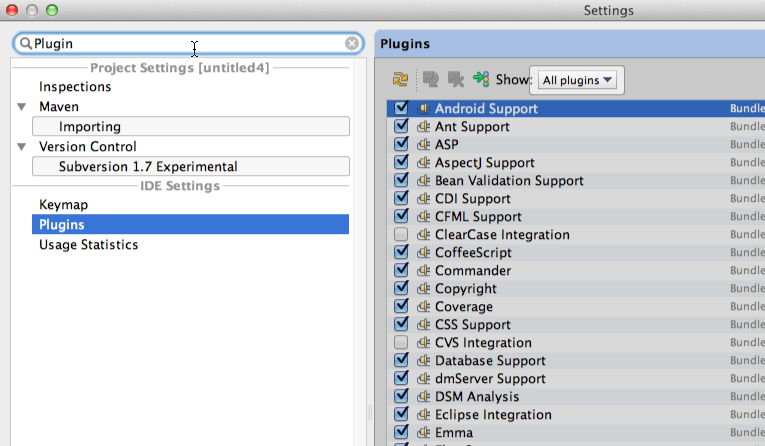
Once IntelliJ is installed, next step is to install the plugin. Download it from here and then click on Preferences inside IntelliJ and type ‘Plugin’ in the search box to get quick access to the list of Plugins.
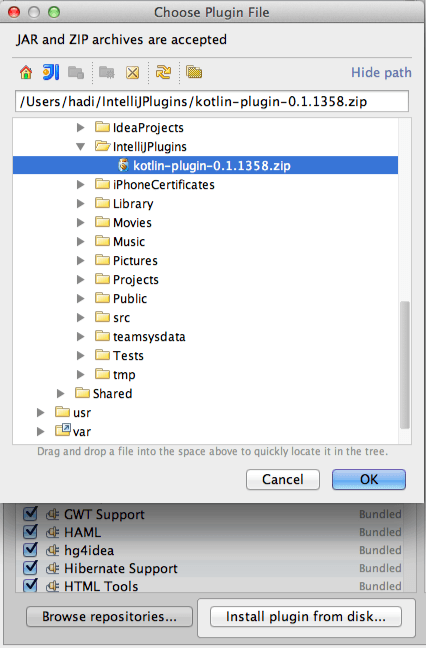
On the right panel, click on Install plugin from disk and select the zip file downloaded.
Once complete, you should now see the Kotlin plugin installed
You will have to restart the IDE.
Creating the first Hello World project
Now that the plugin is installed, we can create a new project. Kotlin does not currently have its own project type. Kotlin is merely a language. You can use it in any type of Java Application. In fact, Kotlin can interoperate with Java so pretty much all the JVM is at our disposable. What we’re going to do, is create a new Java Project. I’m going to assume zero knowledge of how to create a project in IntelliJ so we’ll go through the steps.
-
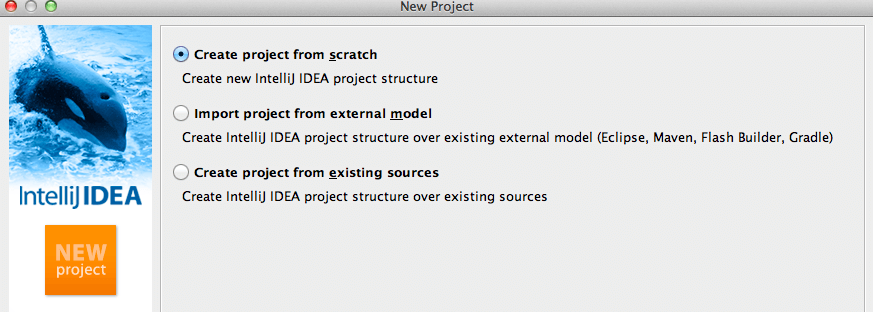
Click on File New Project. Select Create project from scratch and hit Next
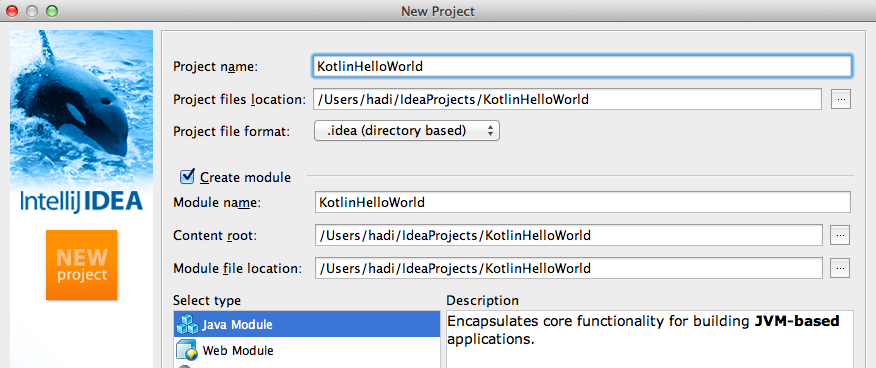
- Type in name for the project (KotlinHelloWorld). Leave all the options intact and click Next
- On the source folder, leave the default src and click Next.What this does is define the source folder where our source code files will be kept.
- In the dialog box to select technologies to use, for now leave blank and hit Finish.
Note: If this is the first time you’re running IntelliJ you might be prompted to select the JDK folder to use. IntelliJ normally located this folder and you merely have to confirm it.
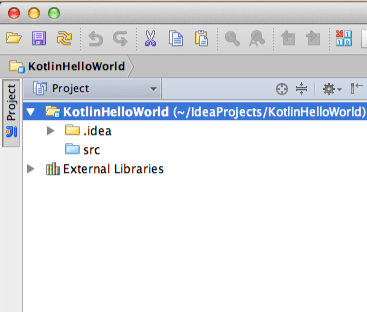
If everything went OK, your Project structure should look like this:
Sidetrack: ReSharper keymapping
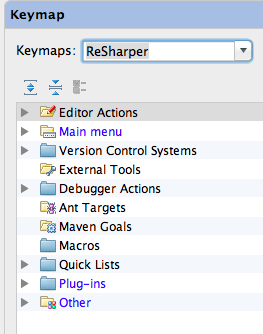
Before continuing, and in an attemp to feal more comfortable in IDEA, I recommend installing my ReSharper key mappings. If you’re a ReSharper user, you will feel right at home since pretty much all of the key bindings are the same. In IntelliJ, to import key mappings, select File | Import Settings and point to a jar file which can contain key mappings as well as any other IntelliJ settings. You can find my key mappings at https://github.com/hhariri/Tidbits/blob/master/resharper.jar. You can change the key mapping any time you want using Preferences and typing in ‘keymap’ for quick access to the configuration entry:
Creating the first Kotlin file
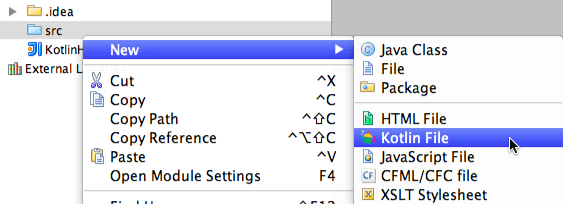
Once we have the project created, next step is to add a Kotlin file. To do this, right click in the Project explorer while your mouse is on the src folder to get the menu up:
and select Kotlin File
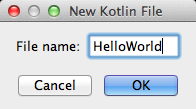
Give the file a name
You should now have an empty file with a toolbar at the top asking you to install the Kotlin runtime. If you do not have this, make sure you haven’t installed or launched the wrong version of IntelliJ.
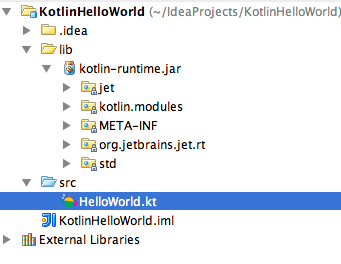
Click on the Setup Kotlin Runtime. What this does is install a series of required libraries for Kotlin in the project. You project structure should now look like this
Write some code
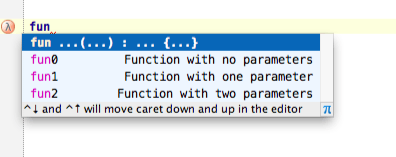
Inside the HelloWorld.kt file, type fun:
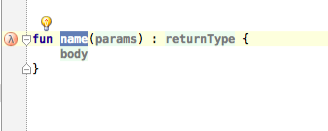
If the installation is correct, you should get help from the IDE to complete the statement. This is pretty much like ReSharper Live Templates. You can hit Tab at this point and get the function template for Kotlin. fun in Kotlin represents a function, which can return a type or void
Give the function a name, no params and leave the return type blank. In the body type out println(“Kotlin: First Contact”). End result should be:
In this post, I’m not going to delve into the languages details as such. The objective is to get the environment up and running to make sure it all works and then later dive into the different aspects of the code. However a couple of things worth mentioning:
- In Kotlin, a function/procedure starts with the word fun and can return a type or Unit (void), making it either a function (if it does) or a procedure (if it doesn’t). As such, writing fun foo() and fun foo(): Unit are exactly the same thing. We'll dive more into what Unit is in a future post. For those familiar with languages such as Pascal, we had function and procedure to distinguish the two.
- Statements in Kotlin do not need to be terminated with semi-colon
Once we have the code typed in, it’s now time to compile it and see if it works. To compile, we can right click and select Compile or press Ctrl+F7.
Making it work
If no mistakes were made, the code should have compiled correctly. However, we can’t do much with it at this point, i.e. we cannot run it. Much like C#, Java and other programming languages, Kotlin requires an entry point in order to know where a program starts. And much like these languages, the entry point is a function called main that takes an array of strings as an argument. As such, let’s rename our function and give it some arguments:
- Arguments (although not present in this example) follow the Pascal style, which is argumentName: argumentType.
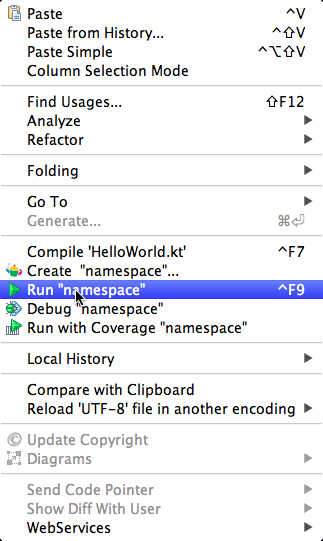
Now we have the ability to run the code. Right click and select Run Namespace or alternatively press Ctrl+F9.
This will automatically create a new Run configuration in IntelliJ called ‘namespace’, which we’ll look into later. What it does mean is that once we’ve run it the first time, the Run and Debug icons are now activated
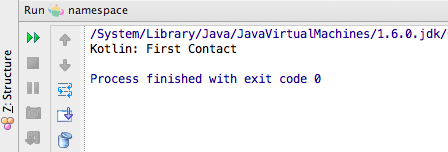
If all has gone well, we can now see the output in the Run window:
Summary
In this first part, we’ve gone through the basics to get Kotlin installed and our environment working to start writing code. We’ve only superficially touched one aspect of the language. We’ll dive deeper into these aspects in successive posts. Until then, you now have an environment to play around with Kotlin. Make sure you check out the documentation here if you want to learn more.
