Some conversations yesterday on Twitter led to a few people being interested in contributing to a new OSS project that Mehdi and I have started, which is a port of Humanizer to the JVM and JavaScript, using Kotlin.
As Kotlin, JVM and IntelliJ IDEA are new territory for a few, here’s a small step-by-step on how to get started.
IntelliJ IDEA, or not.
While I work with IntelliJ and recommend it, you don’t have to use it. Kotlin comes with a command line compiler and Ant/Gradle tasks that you can download and very easily compile applications. In addition, this particular project uses Gradle, so you can just build it from the command line using gradle.
If you do decide on IntelliJ IDEA, you can use either Ultimate or the free Community OSS edition. Both work.
Install the JDK
Whether you use IntelliJ IDEA or not, you do need a JDK installed. And note, the JDK does not install the Ask toolbar! You can also use chocolatey to install it.
Clone, Open, Build and Run
Clone the repository:
git clone https://github.com/MehdiK/Humanizer.jvm
Using IntelliJ IDEA
If you’re using IntelliJ IDEA, then:
-
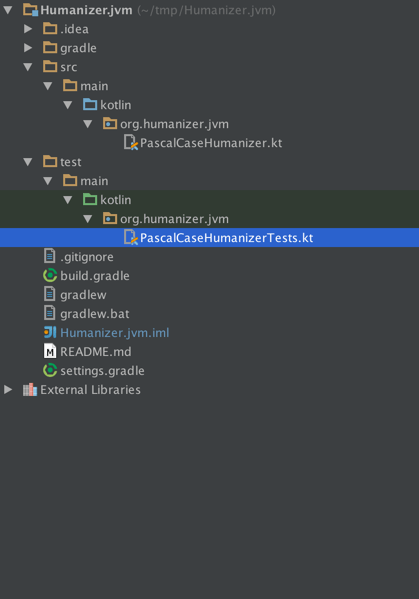
If the project has previously been opened and the source contains a folder called .idea, all you need to do is use File Open to open the project (which is the case with Humanizer)
-
If the project has not previously been opened or .idea folder is not in source control, then use File Import to open the project.
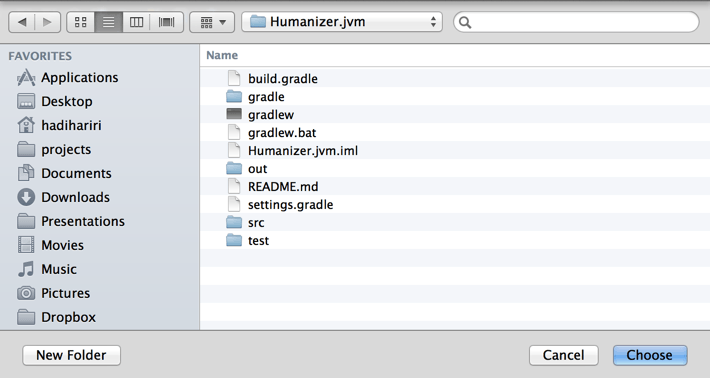
Point to contents of the root folder. IntelliJ IDEA is directory based by default so you don’t open a specific file.
You should now be able to Make the project using Build Make Project and run tests (Ctrl+Shift+R or right-click and Run)
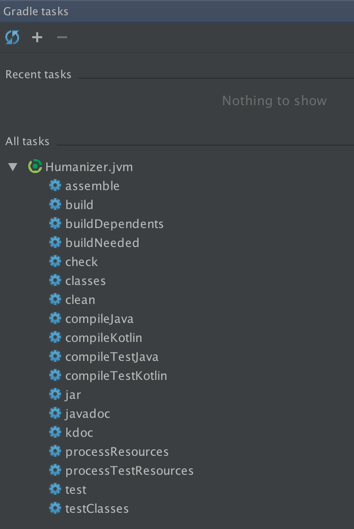
You can also use Gradle from inside IntellIJ IDEA via the Gradle window. From there you can execute any task.
Using Command Line
The project comes with a Gradle wrapper. What this means is that you don’t need to explicitly install Gradle. If you’re using command line, run:
gradlew
or
gradlew.bat
depending on whether you’re on OSX/Linux or Windows respectively.
After Gradle is installed, you can then execute tasks using
gradle <taskname>
More Getting Started Guides
That’s pretty much it for getting up and running with an existing Kotlin project. Not as daunting as one thinks. If you are new to JVM, make sure you check out my Getting Started Guides:
If you’re new to Kotlin: