Last month I wrote about getting Kotlin/Native running on Raspberry Pi. My next goal was to try and control some hardware with this combination. In this post I’m going to show you how to write a small Kotlin/Native application to light up a LED.
Note: To follow this, please make sure you’re using Kotlin/Native 0.2 or higher. I’ll be running this all on an Ubuntu box and deploying to Raspberry Pi
The Hardware
While in the US, I picked up a Raspberry Pi Starter Kit like the one below
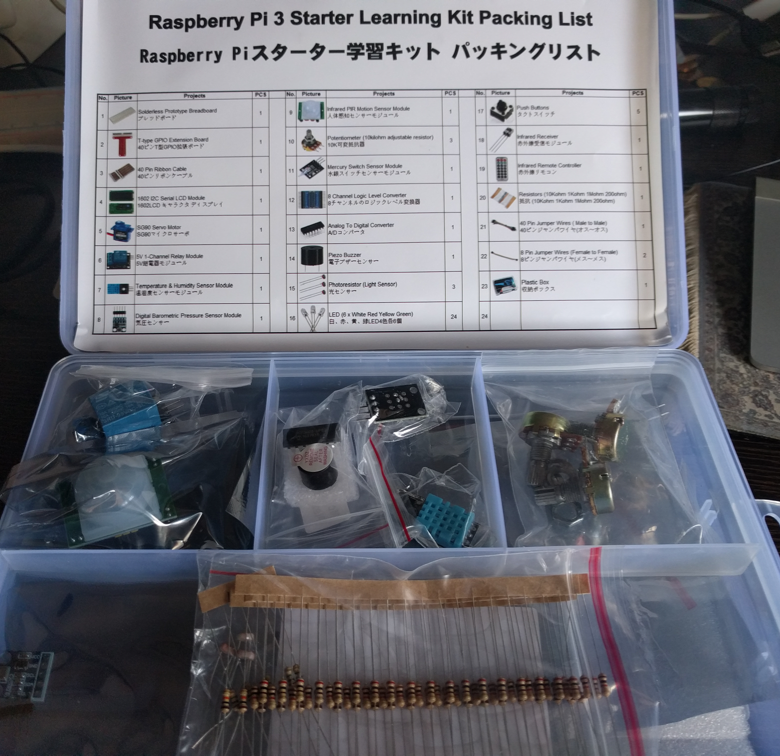
This one cost me $35 and comes with a whole variety of different components such as temperature sensors, motion detectors, LEDs, display, amongst others. There are plenty of different types of kits available on Amazon. Some come with the Raspberry Pi itself, others don’t. My one didn’t and despite indicating it’s for version 3, it works fine with 2.
Wiring things up
The idea is simple: we use the Raspberry Pi to send signals to light up the LED. This is done using what’s know as GPIO or General-Purpose Input/Output ports.
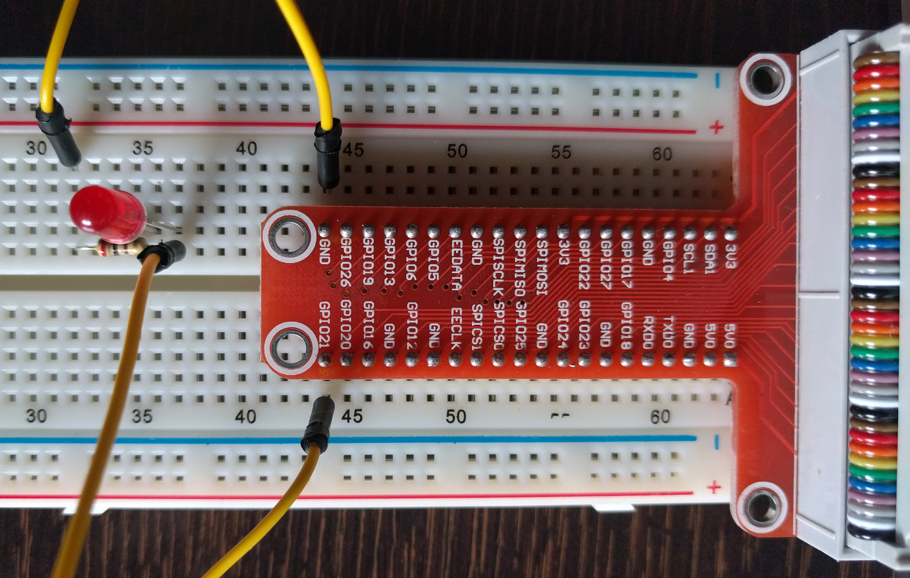
The anode (positive longer leg) of the LED is connected to GPIO21. The cathode (negative shorter leg) is connected to GND (ground). The GPIO21 will send a voltage to the LED lighting it up. To avoid burning out the Raspberry Pi (as the LED will try and consume more power than we want to supply) we need to use a resistor.
From the side, the setup looks like below
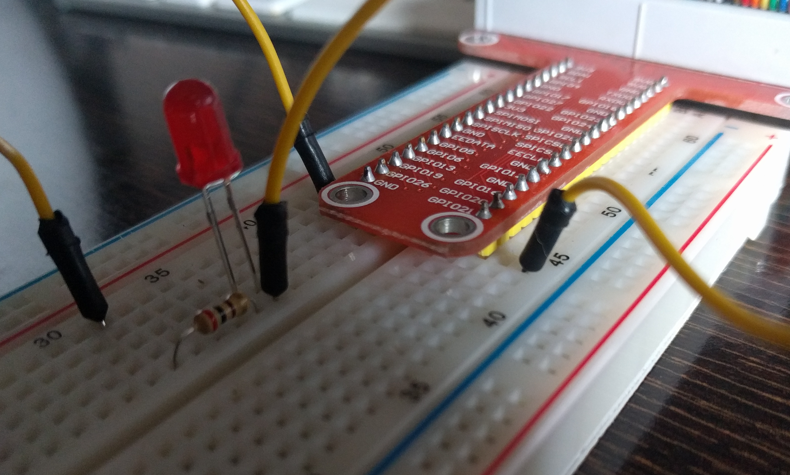
Now all that’s left to do is send a signal to port 21!
Generating pigpio Kotlin stubs
The pigpio library allows us to control the GPIO and works with all versions of Raspberry Pi. It is a C library and there are wrappers for Python and other languages. Given we’re going to be using Kotlin/Native, we can interop with the C library, however we need to generate some stubs.
The first thing we need to do is download the pigpio library. The easiest way is to download the zip and unzip it in a folder. For our case, we’re going to place this in the folder /work/circuit/PIGPIO. The uncompressed folder should now
contain a file name pigpio.h amongst others.
To create the stubs, we invoke the cinterop tool that ships with Kotlin/Native (located in the bin folder). This tool requires a definition file, in our case named pigpio.def, which contains information about the
headers we want to create stubs for, along with some options. In our case, it would simply be:
headers = pigpio.h
We then invoke the tool providing
pigpio.defwhich is the definition file we just created-I{full path to}/PIGPIOwhich is the folder where the header files are located-o pigpio.bcthe output file we want-target rapsberrypito target the Raspberry Pi
cinterop -def pigpio.def -copt -I`pwd`/PIGPIO -o pigpio.bc -target raspberrypi
If everything goes well, we should now have a file named pigpio.bc and a folder named pigpio.bc-build.
For more information about cinterop, please see the documentation.
Using the stubs
Now that we have the header file, we can include it in our application by simply importing it
import pigpio.*
and use any of the number of functions defined in the library such as gpioInitialise(). However, if we try and compile our application which uses any of the functions,
we’ll get an error of unresolved reference. This is because we need pass in the actual library as a linker argument to the Kotlin/Native compiler.
Linking the library
In order to do this, we would need to pass the following command to the compiler
konanc led.kt -target raspberrypi -library pigpio.bc -linkerArgs "-L`pwd`/PIGPIO/rpi -lpigpio" -o led
led.ktis our source file with the code to light up the LED (we’ll get to this in a moment).-target raspeberrypiindicates we want to target the Raspberry Pi, just like we did with the cinterop.-o ledis defining the name of the compiled application.-linkerArgsis the new player. Here we’re telling the compiler where to find the librarypigpio. The format is-Lfollowed by the path where the library is and then the name of the libraries, each prefixed with a-land thelibpart dropped. In our case the library we want is calledlibpigpio.o, so we’d put it as-lpigpio. Notice that the entire argument has to be enclosed in double quotes.
Cross-compiling
One thing we have to be aware of which is critical - we’re doing all of this on an Linux machine, but our target application is Raspberry Pi. This means that the actual libpigpio.o file we need should be the binary from Raspberry Pi, i.e. not one that we’ve compiled and linked on Linux. The easiest way to obtain this file is to simply install pigpio on the Raspberry Pi and then copy the file
over to our Linux box. We can do this either downloading the zip and then running make install or just using apt-get install pigpio, as shown in the download options.
Once again, this is very important because if you
link against the binary on the Linux box, it won’t work.
Lighting up the LED
Now that we have all the ground work done, we can start using the library and write the code to light up our LED
Believe it or not, the code is pretty straightforward:
import pigpio.*

fun main(args: Array<String>) {
  const val port = 21
  if (gpioInitialise() < 0) {
      println("Error initialising")
  } else {
    if (gpioSetMode(port, PI_OUTPUT) < 0) {
        println("Could not set mode for GPIO$port")
    } else {
        if (gpioWrite(port, 1) < 0) {
            println("Could not write to GPIO$port")
        }
    }
  }
}
We first call initialise, which is required. If no error is returned, we then set the mode of the port to output and once again if all is OK we’ll then write to the port the value 1. This essentially sends the corresponding voltage to the LED and it turns on.
The port in our case is 21 which is where we’ve connected it to on the breadboard.
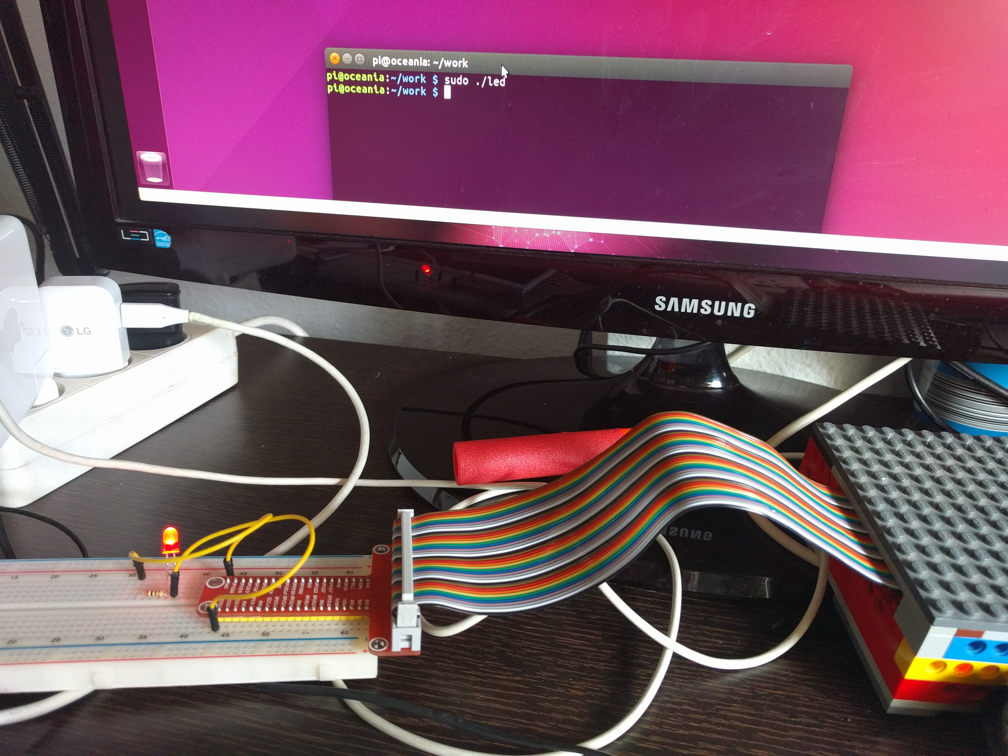
Running the app
Once we have the code compiled, we can copy it over to the Raspberry Pi and invoke it
sudo led
Next Steps
Where to go from here?
@hhariri Next the moon
— Daneel3001 (@Daneel3001) May 28, 2017
The main purpose of this post was to show the steps required to interact with hardware using Kotlin/Native and the Raspberry Pi. The most “tedious” step is that of generating the stubs and having the right binary to do the correct cross-compiling. Fortunately this is a one-time thing.
What would be a great next step however is to
have a higher-level API from Kotlin to interact with GPIO, reducing the amount of boilerplate code/checks, etc.
So, up for it? :)